- de
- en
You are here: aktuelles » en » ios8021xstepbystep
En:ios8021xstepbystep
Table of Contents
Step by step guide for the 802.1X WiFi on iOS
1: Removing an old 802.1X profile from iOS (optional)
To ensure a clean installation, make sure to remove any existing old copies of our profile.
This step is only needed if you already have an old version of our 802.1X configuration profile and wish to reinstall a new one.
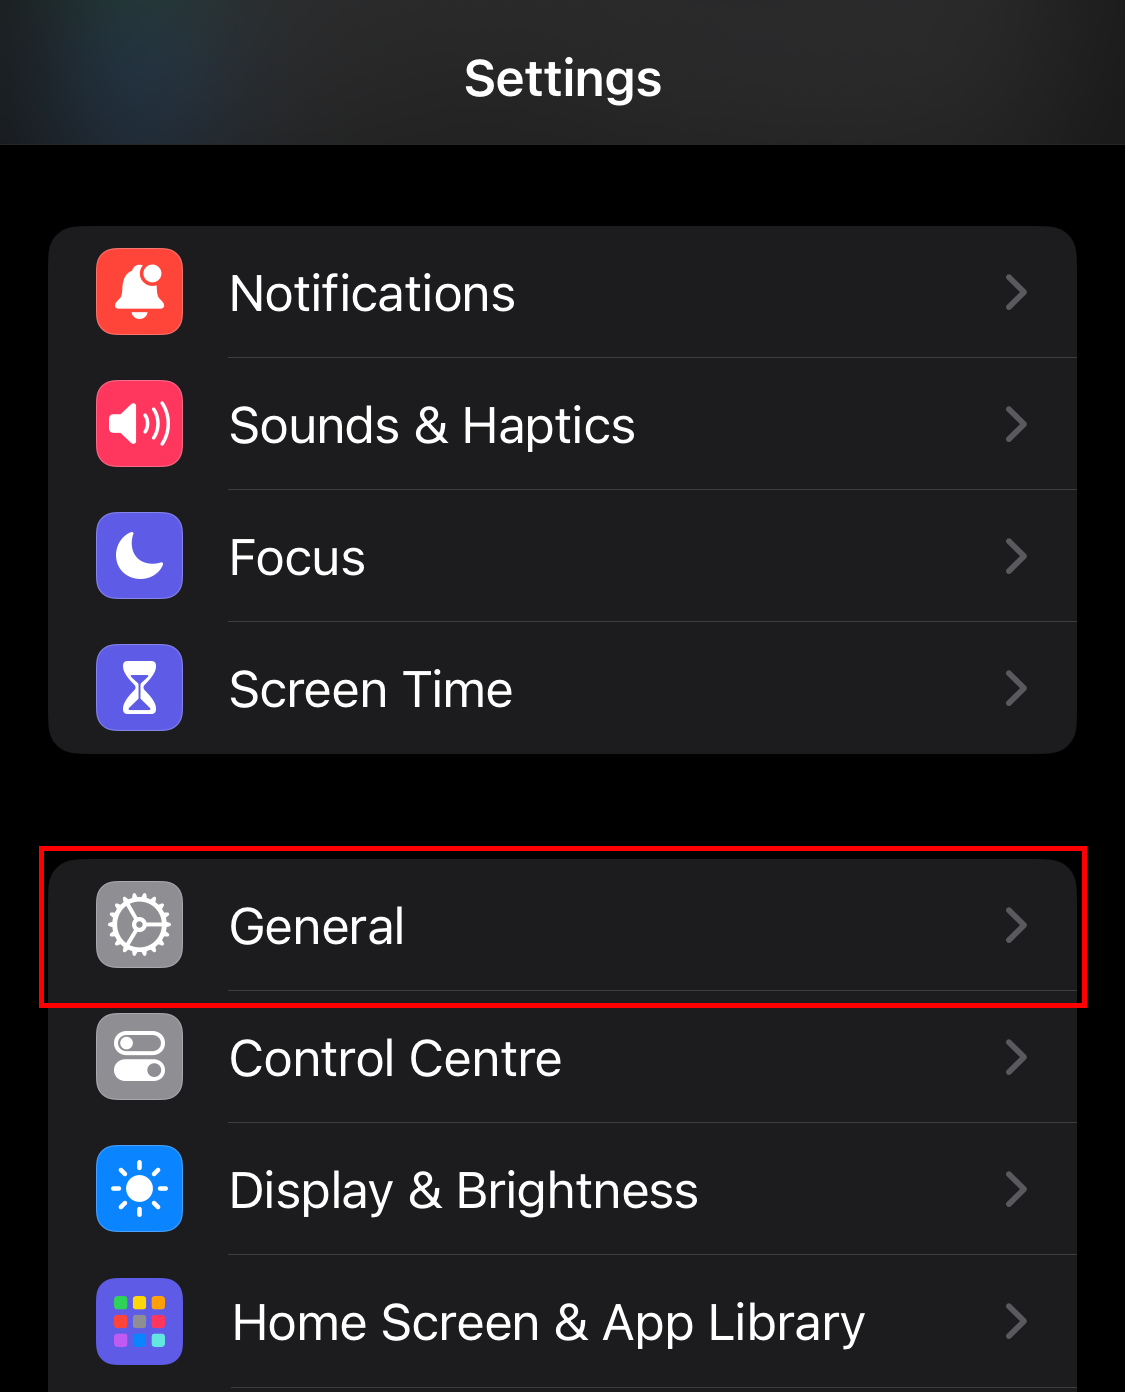
Open the Settings App and navigate to General.
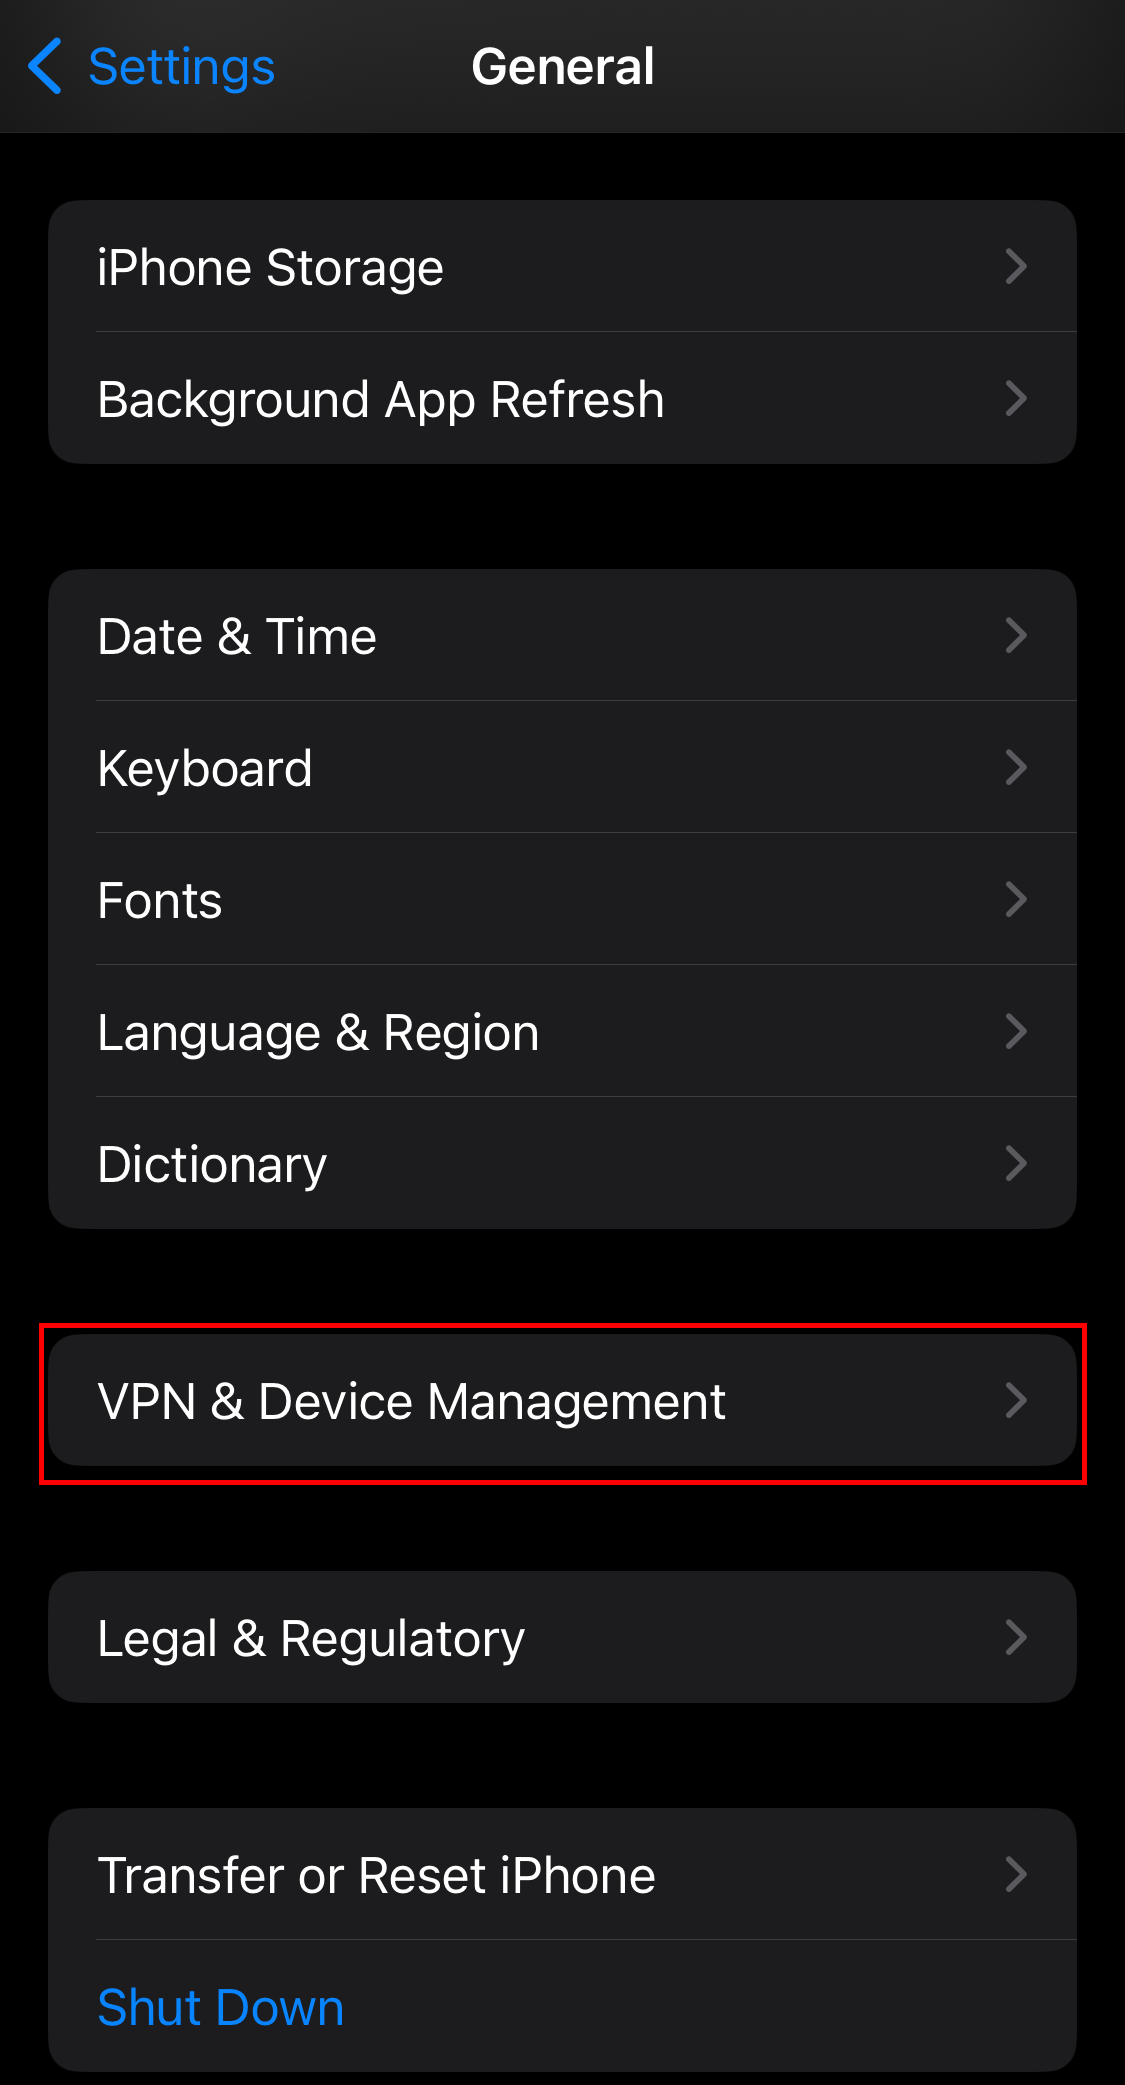
Tap VPN & Device Management, you will be presented with all installed and pending configuration profiles currently on your system.
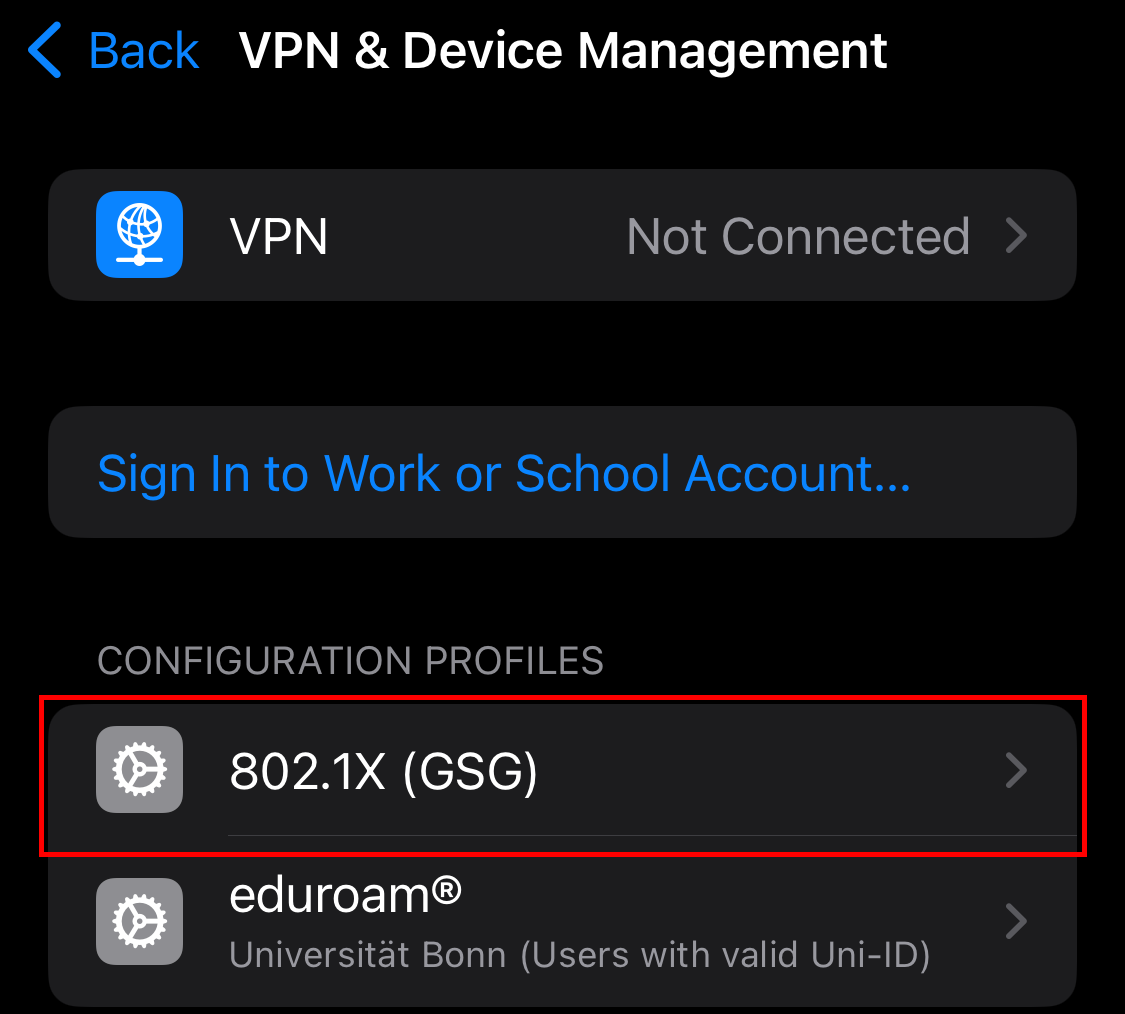
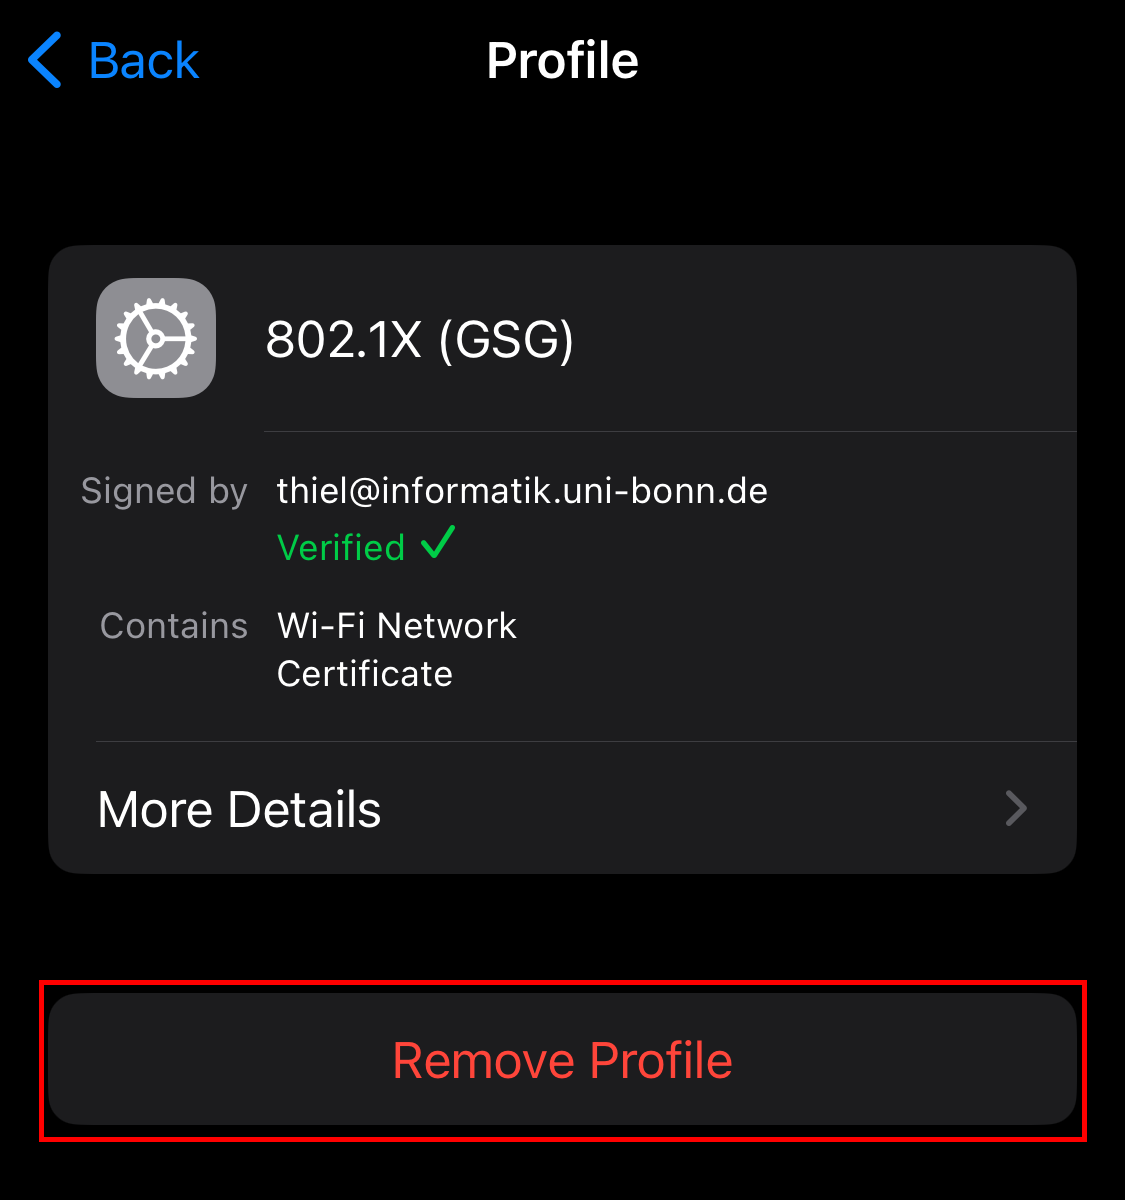
Tap the one called 802.1X (GSG) and press Remove Profile. You will be asked for your device Pin. Enter it and confirm the removal of the profile.
If there is no profile called 802.1X (GSG) on your device, you can skip to step 2.
2: Download the profile
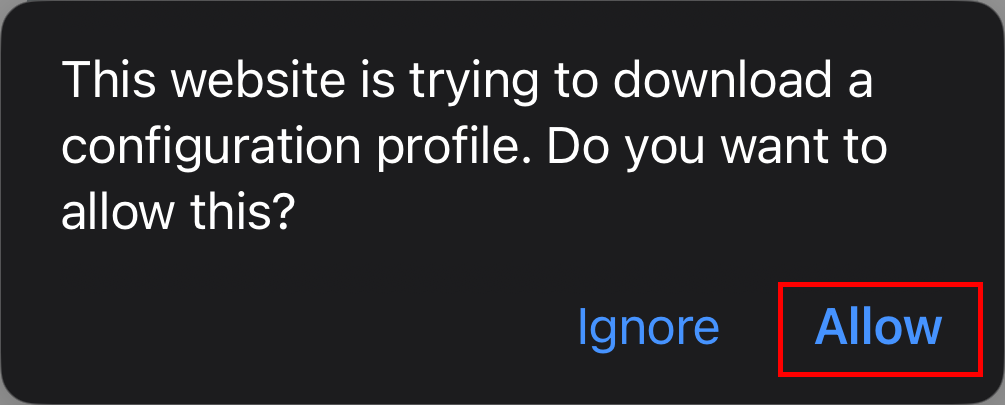
In order to use the WiFi at our building, you will need to download the profile first. Please select the matching type of profile (pick the first one if unsure):
| Apple Configuration Profile for Computer Science Accounts: | 802.1X-ifi.mobileconfig |
|---|---|
| Apple Configuration Profile for the alternate WiFi Authentification: | 802.1X-ifi-altwifi.mobileconfig |
| Apple Configuration Profile for b-it accounts: | 802.1X-bit.mobileconfig |
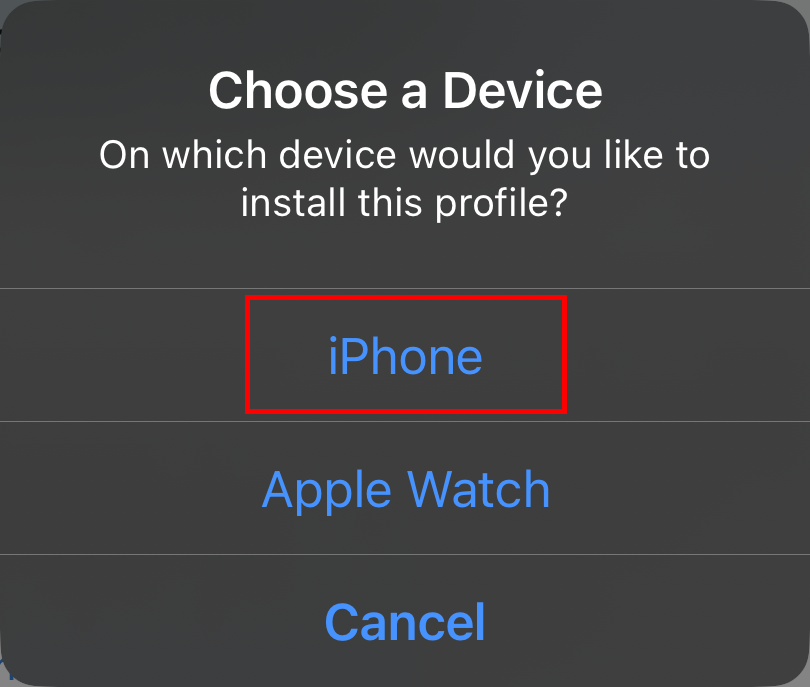
If you have multiple devices connected to your Apple ID, you might be asked on which device to install the profile, in that case, choose the appropriate device (most likely “iPhone”).
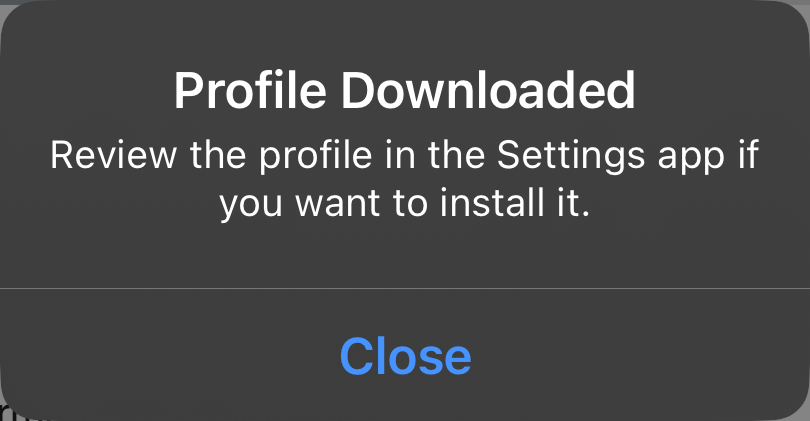
The profile will then be downloaded but still needs to be verified and installed in the settings app.
3: Locating the new profile
Open the Settings App and navigate to General.
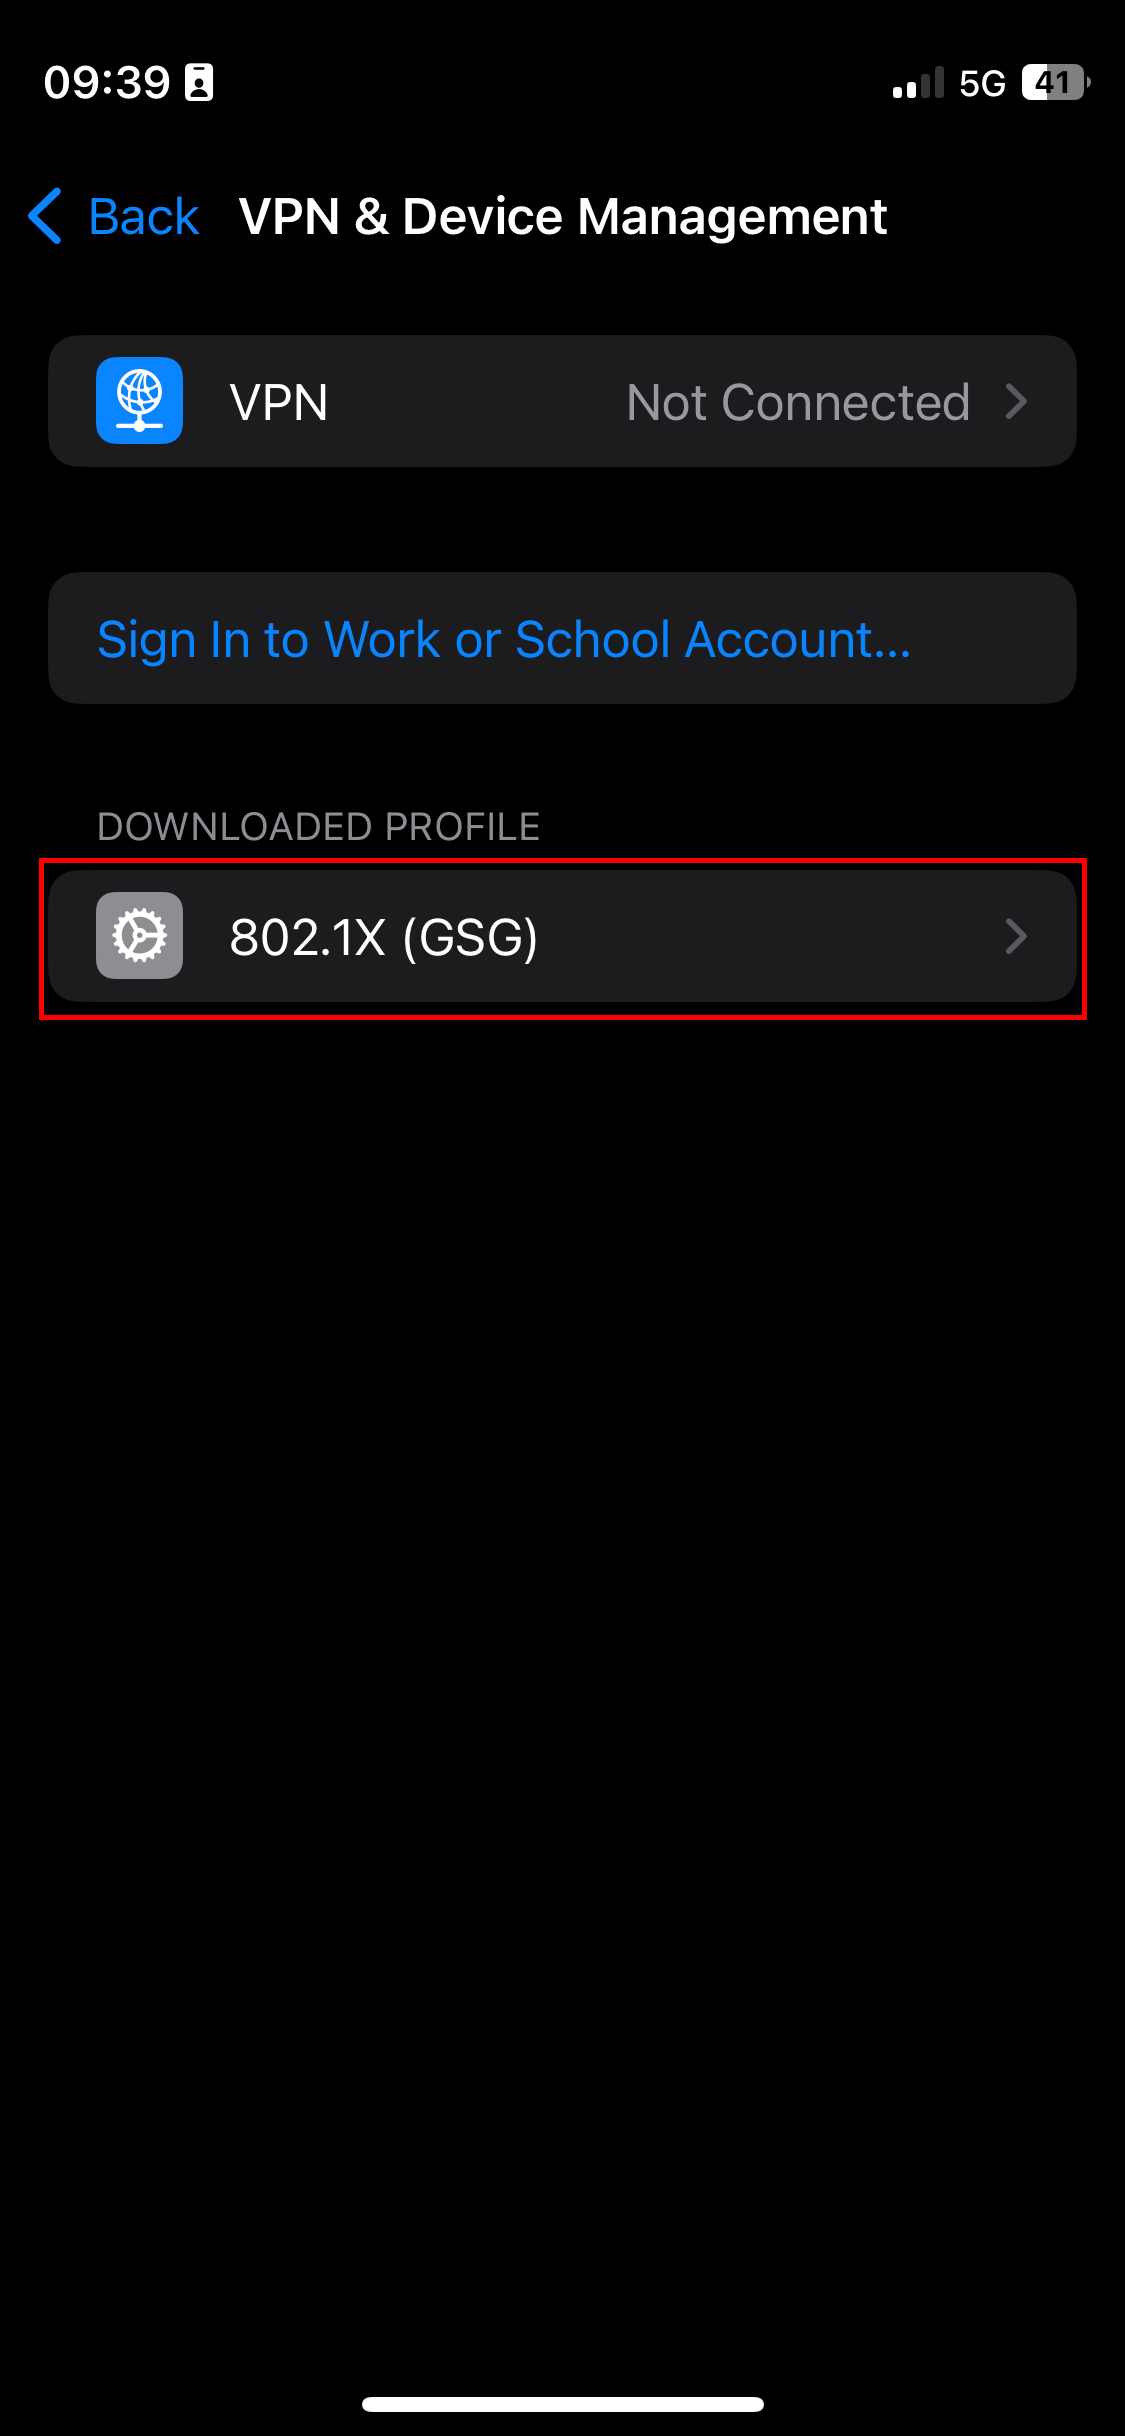
Tap VPN & Device Management, you should see our 802.1X (GSG) profile in the Downloaded Profile list.
Tap on it to start the installation process.


4: Installing the new profile
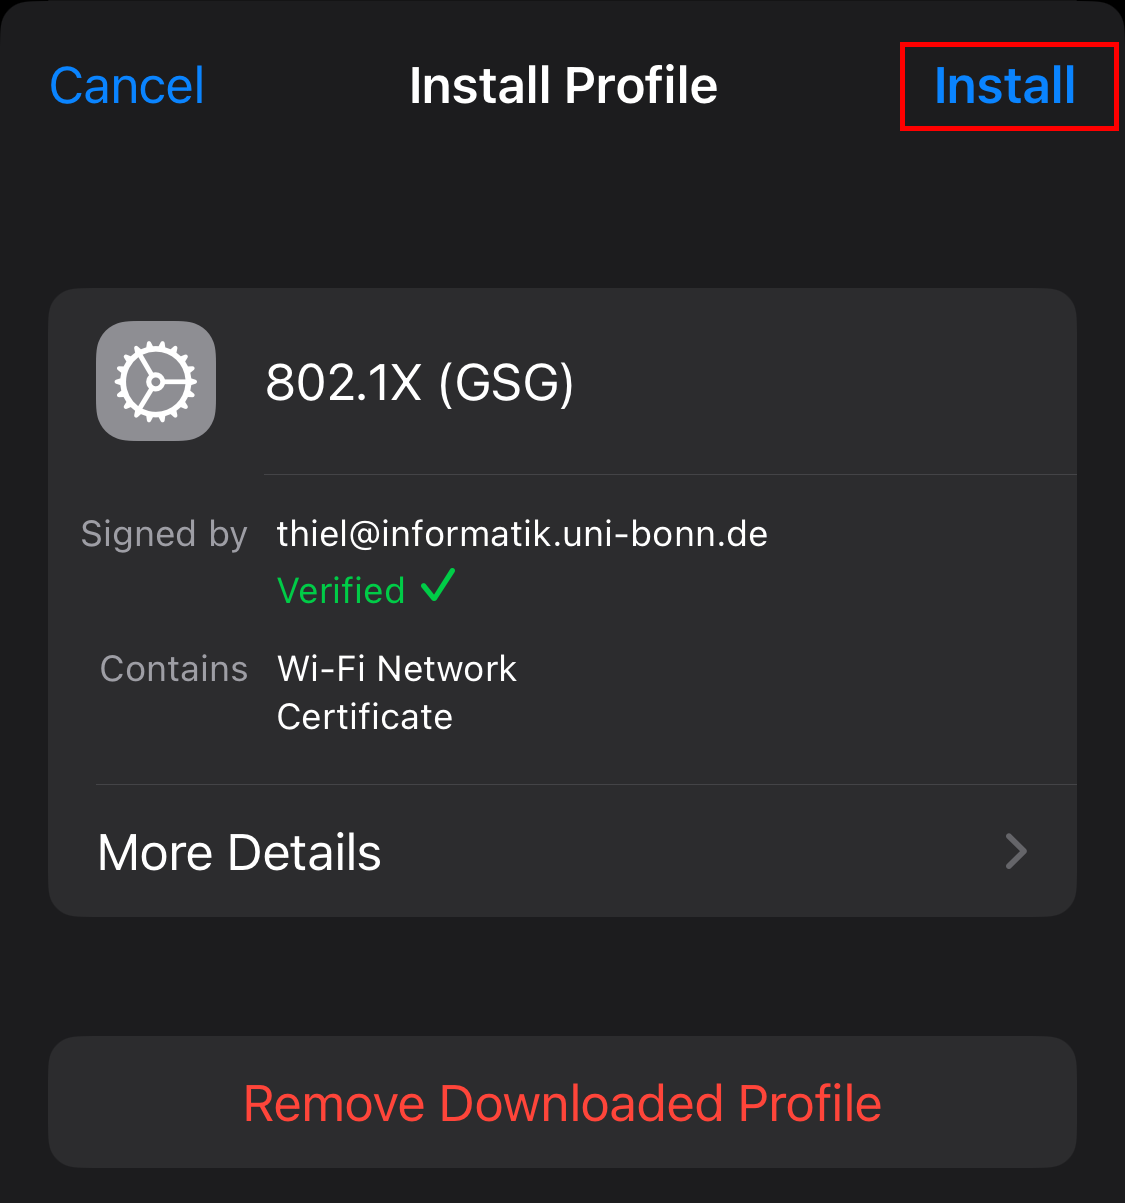
After tapping the profile, you will be shown some general information about it. Tap Install to continue the installation process.
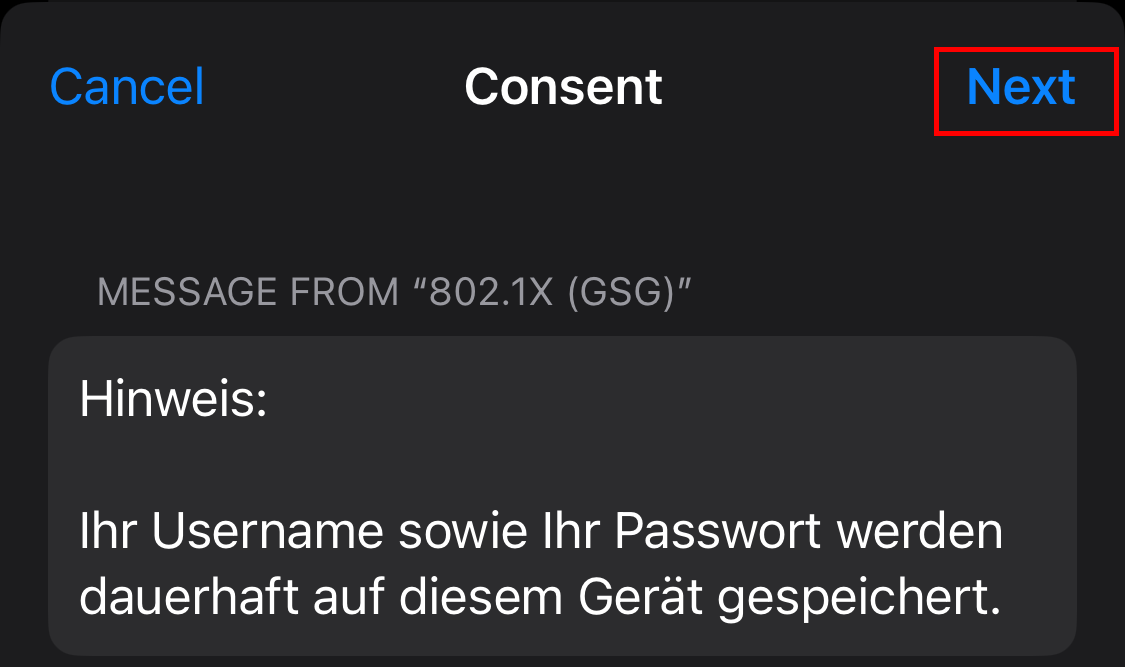
Next, you will be informed, that your username and password will be stored on the device. Tap Next.
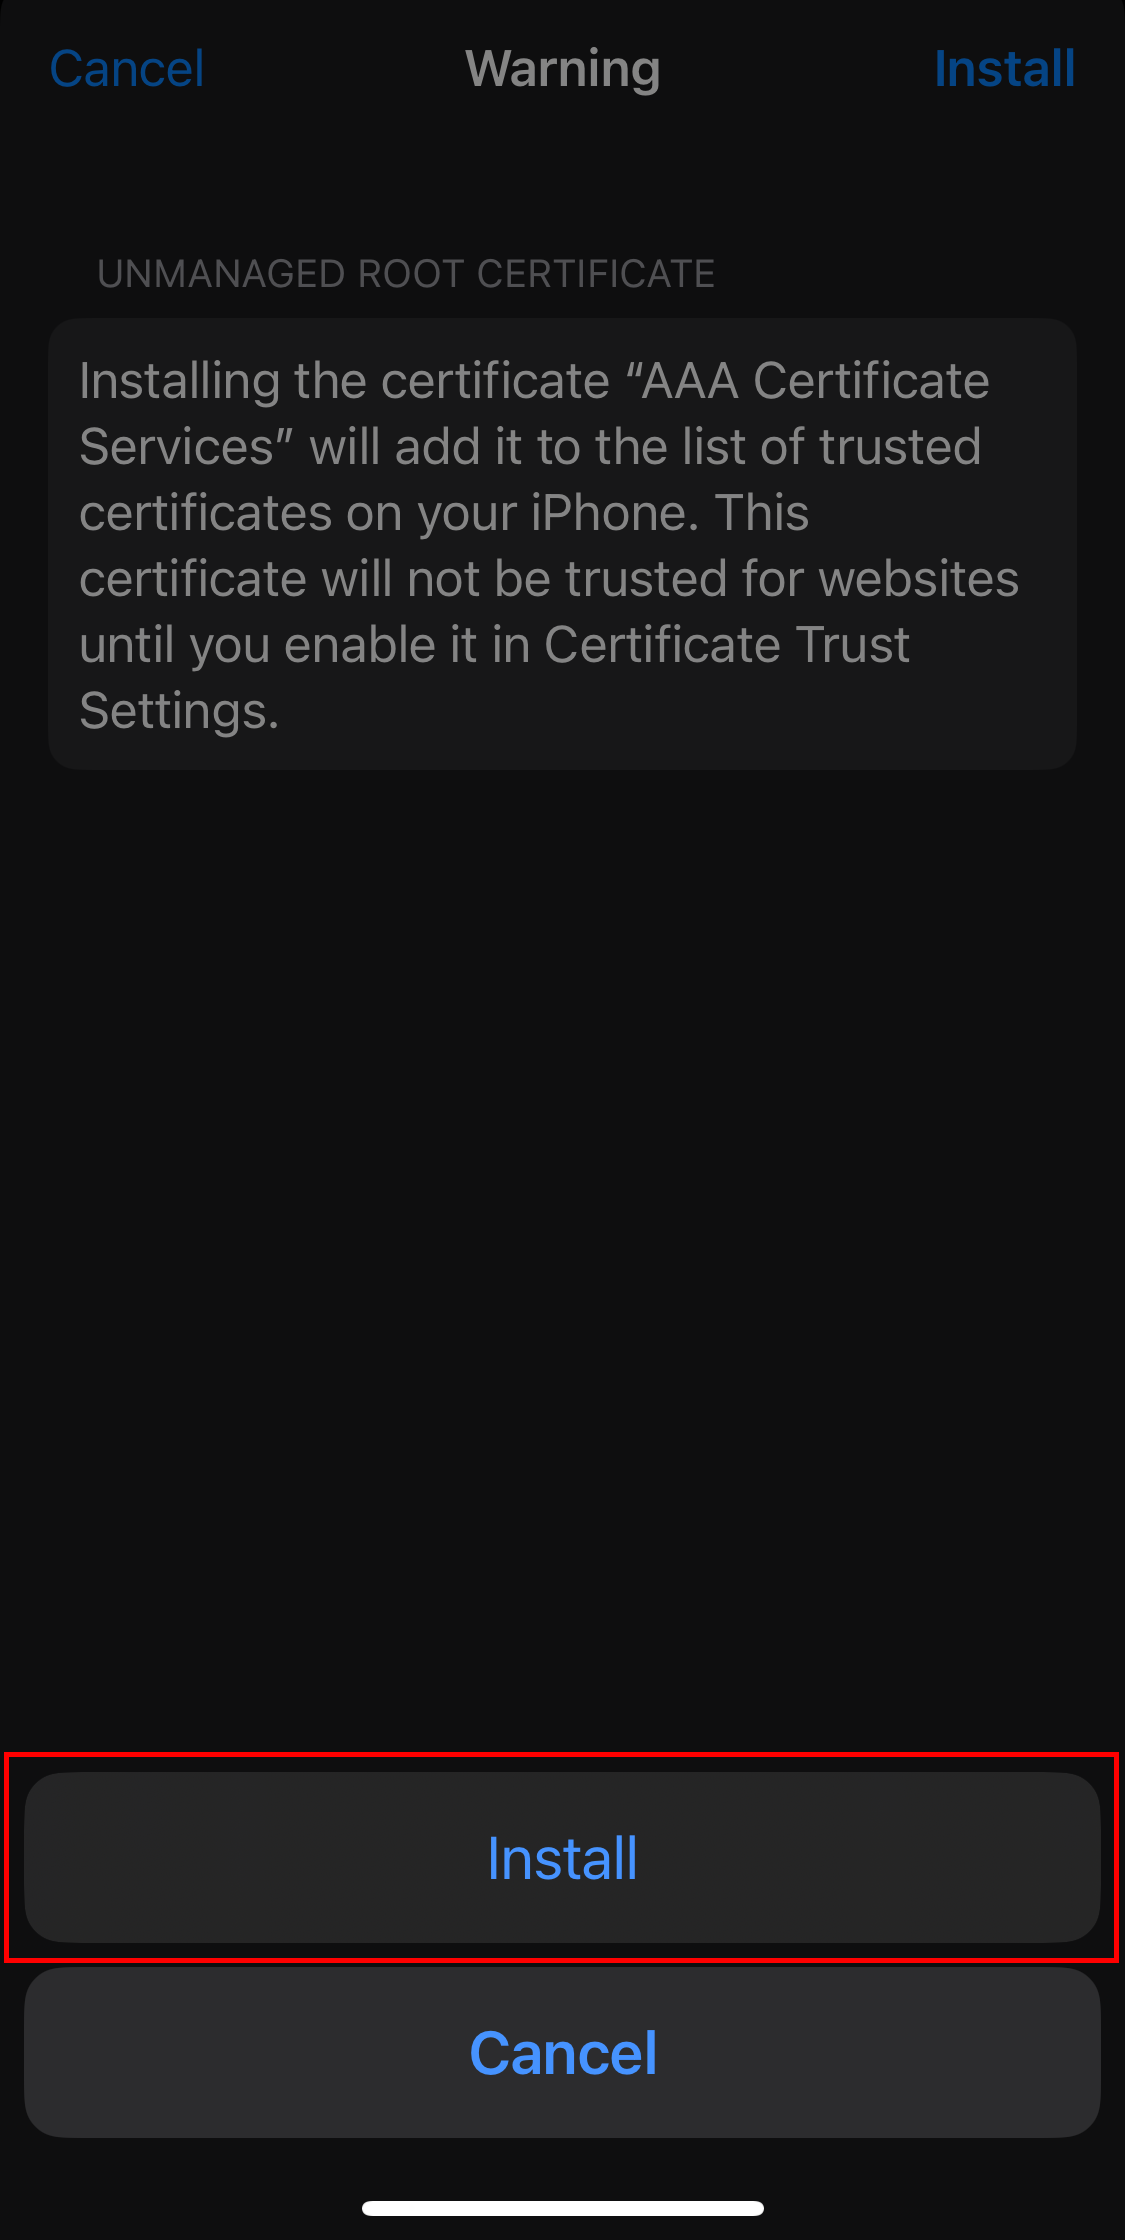
You will then be informed that the “AAA Certificate Services” will be added to your system by the profile. Tap Install.
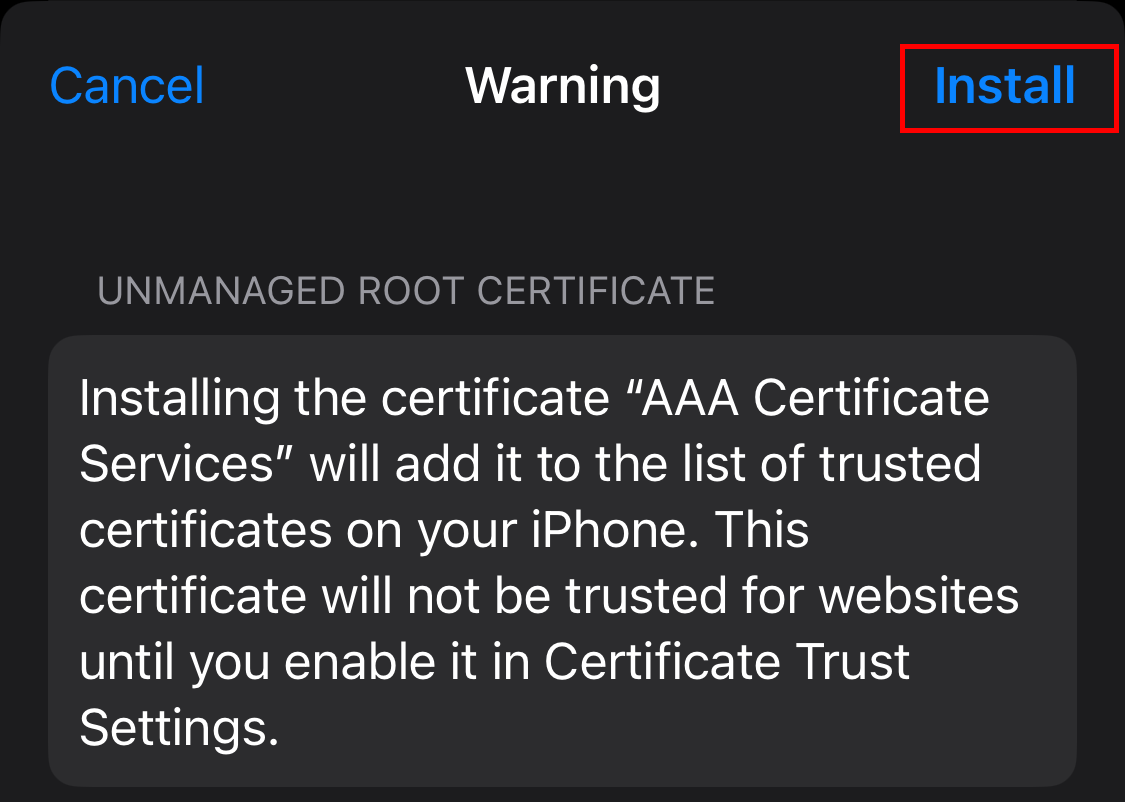
Finally, a button labeled Install will appear, tap it to continue.
5: Providing your user data
After tapping the install button, you will be prompted for your username.
This is the name of your computerscience account, followed by @informatik.uni-bonn.de, i.e. username@informatik.uni-bonn.de.
Do not omit the @informatik.uni-bonn.de part!! Do not use @bit.uni-bonn.de ! The profile only works with @informatik.uni-bonn.de !
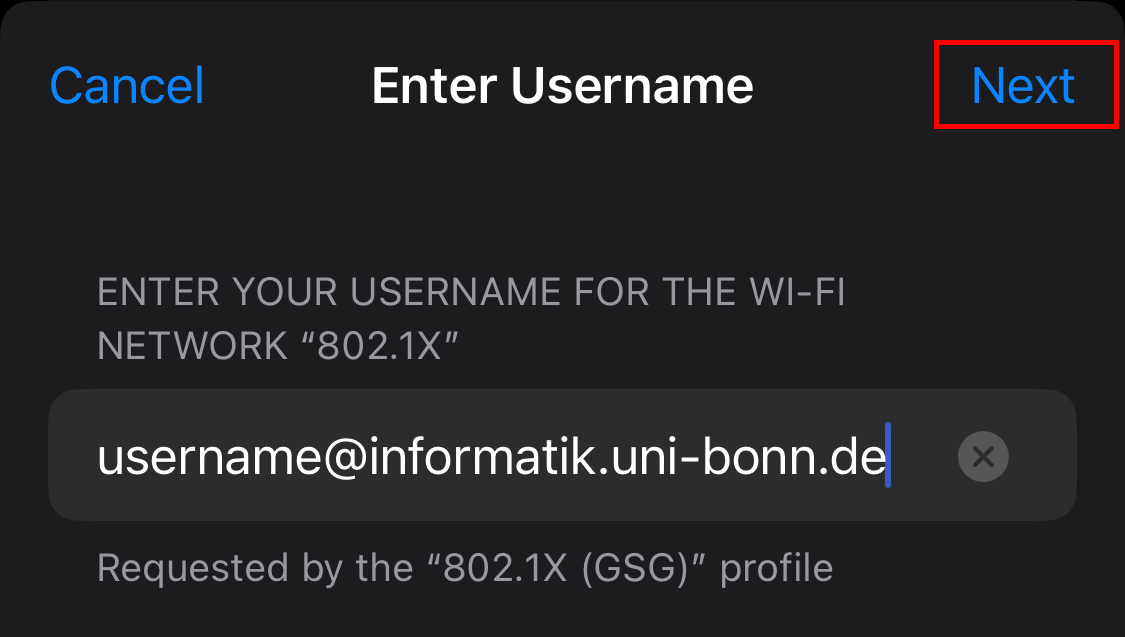
After entering your username, tap Next; you will now be prompted for your password.
Enter the password for your computer science account and tap Next again.
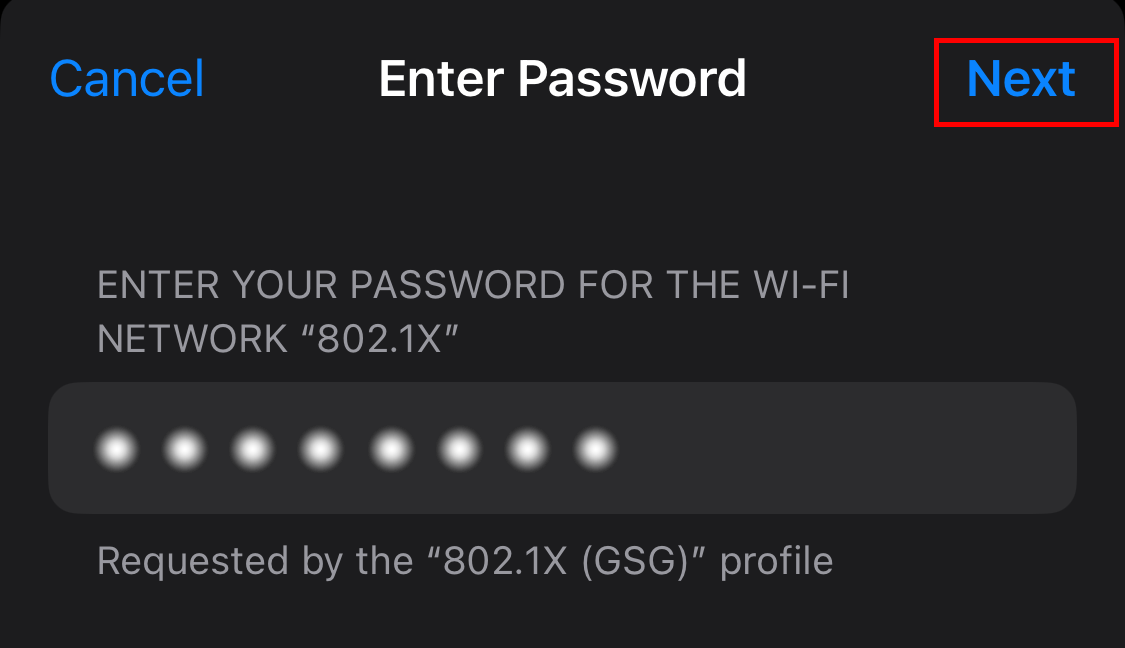
After entering your device pin, the profile will be installed.
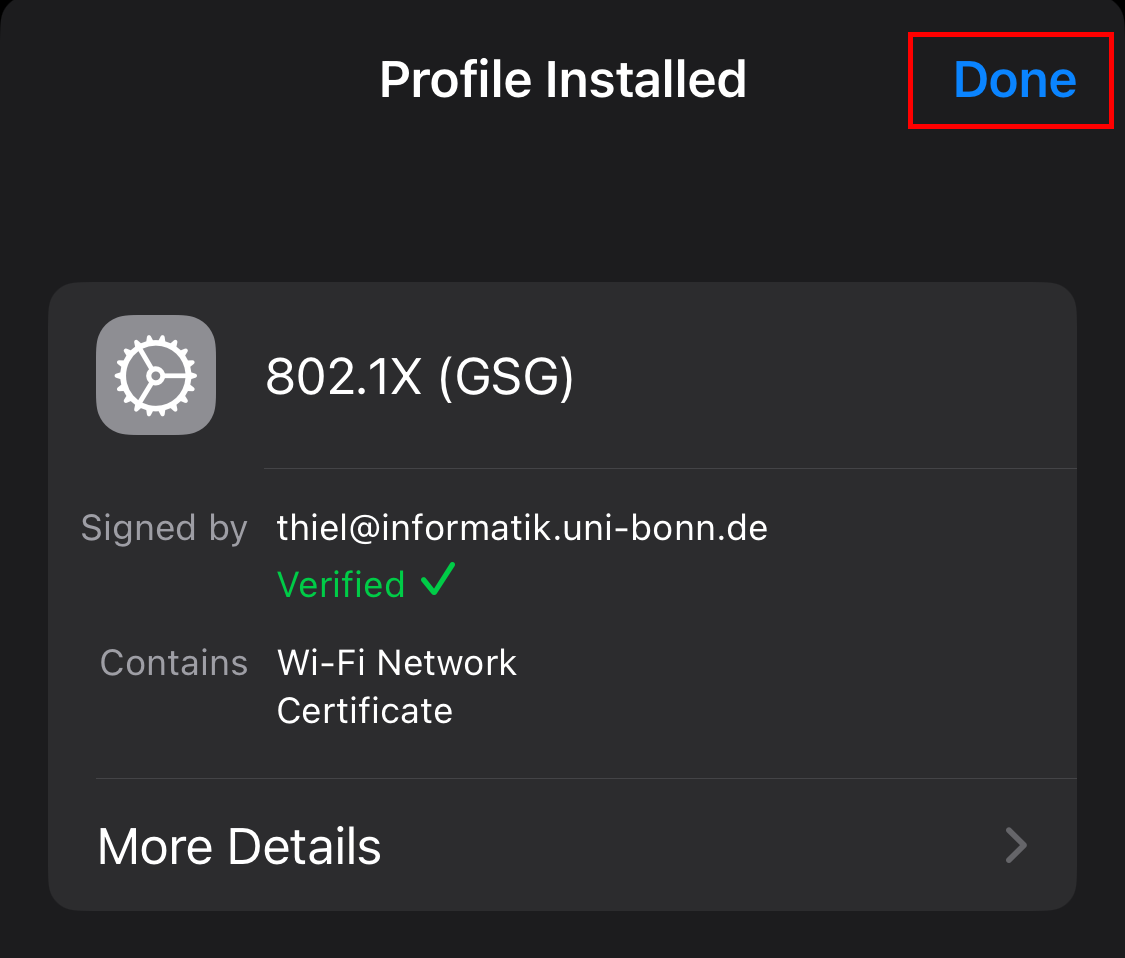
Tap Done to leave the installation.
6: Connecting to the WiFi
Return to the Settings App and tap Wi-Fi
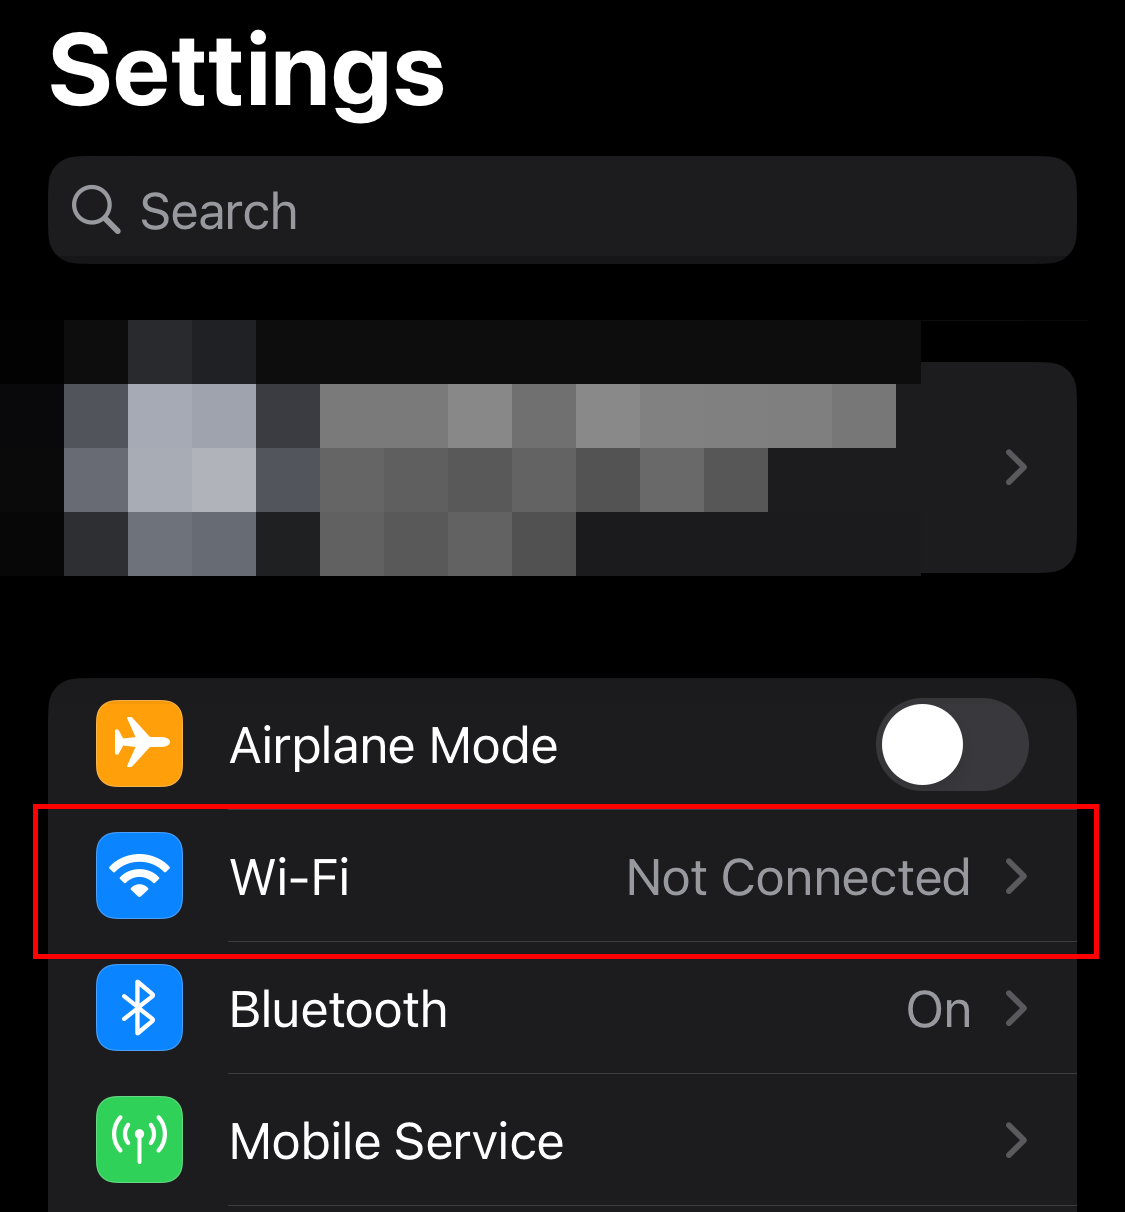
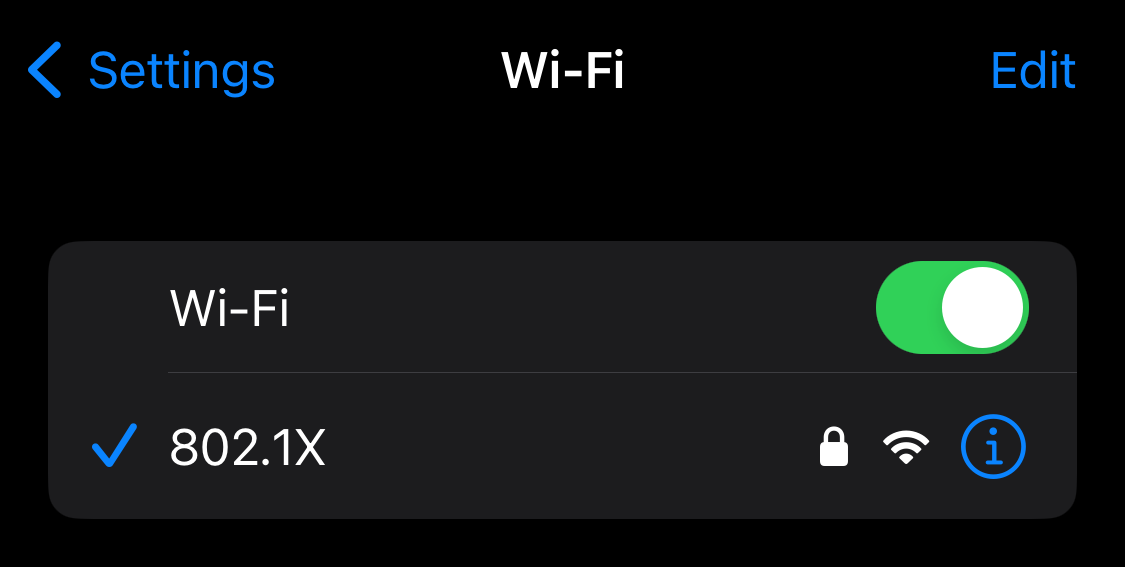
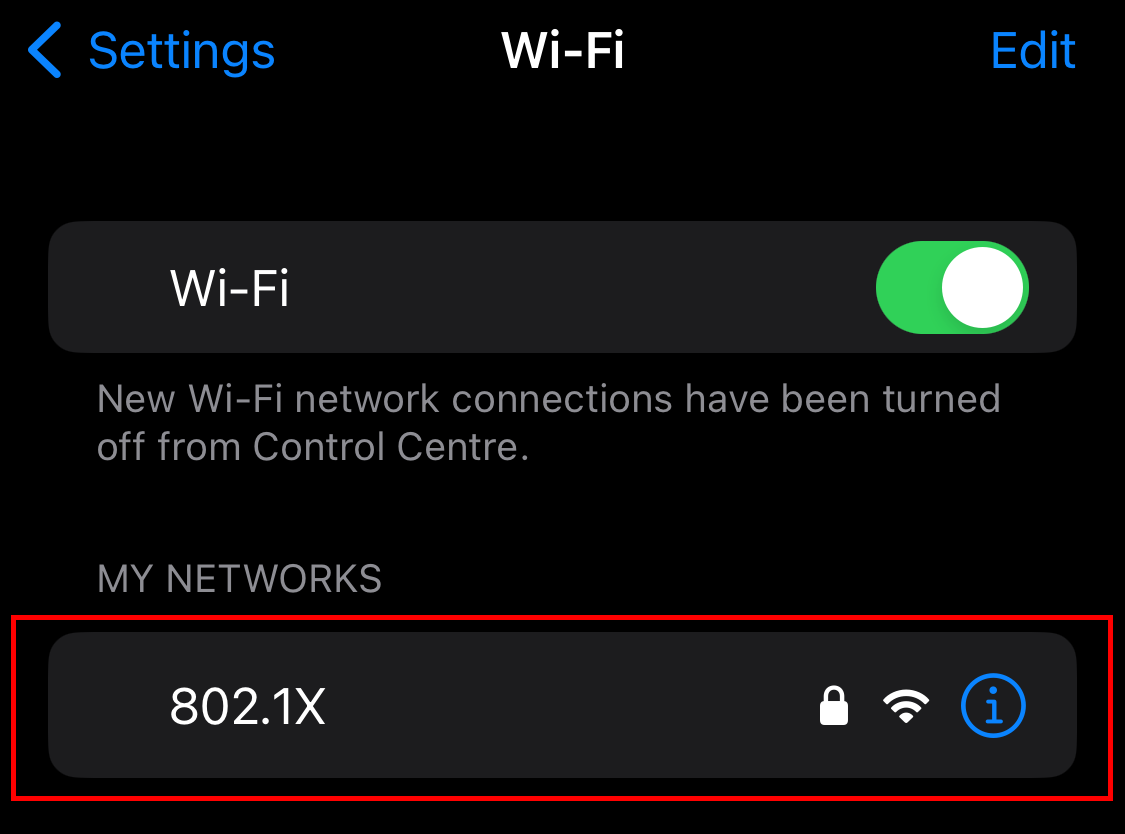
You should see 802.1X under My networks.
If you are on location in our building, tap it.
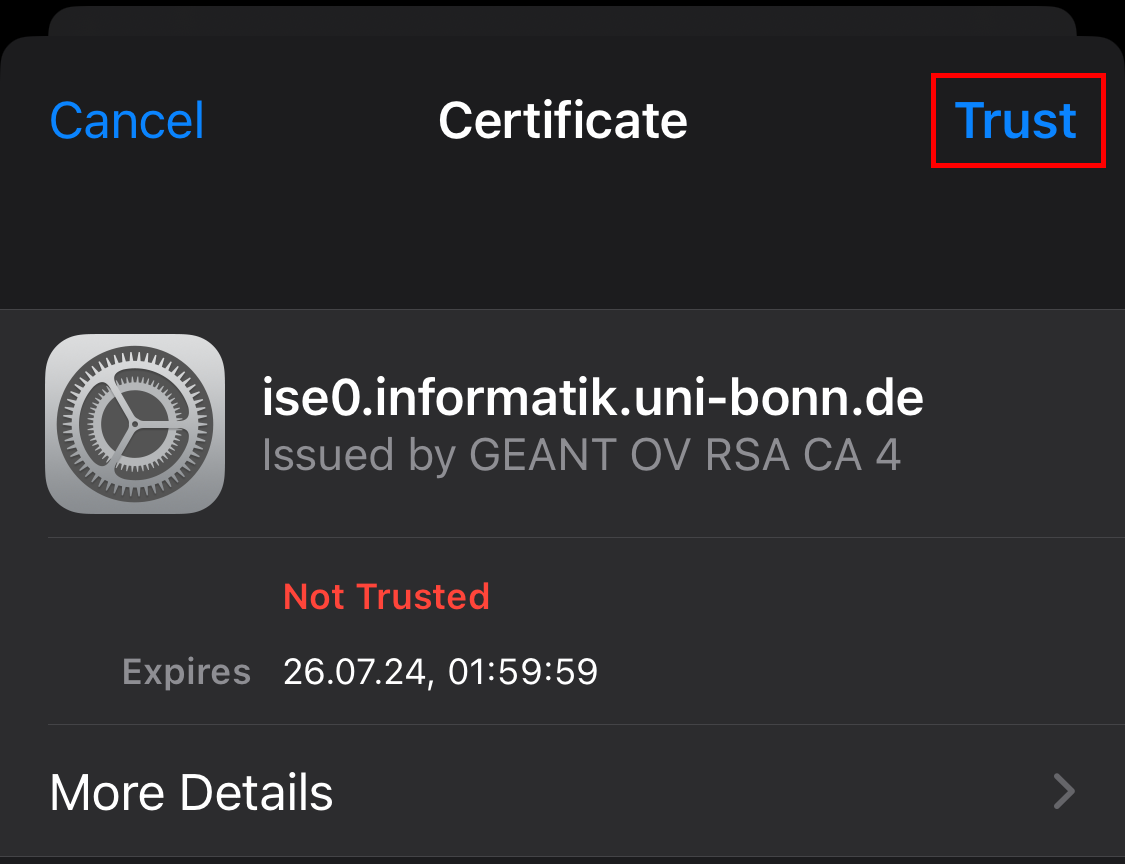
When connecting for the first time, you will be warned about an untrusted certificate.
Verify it is our current certificate, then tap Trust to continue.
You are now connected to our WiFi.
